First of all, congratulations on taking the first step towards a cleaner and more organised kitchen!
The refrigerator is one of the most important kitchen appliances, as it keeps our food fresh and safe to consume. However, many of us neglect to give it a good cleaning regularly, which can lead to unpleasant odours and potential health hazards.
Don’t worry, cleaning your fridge doesn’t have to be a daunting task. In fact, with this easy step-by-step guide on fridge cleaning, you’ll have a sparkling clean fridge in no time!
Step 1: Prepare
Before you start cleaning, prepare all the necessary materials. Here are some things you’ll need:
- A cooler or insulated bag to store perishable food items while cleaning
- Baking soda and water for making a natural cleaning solution
- Microfiber cloth or sponge for wiping down surfaces
- Dish soap for tougher stains
- Toothbrush for hard-to-reach areas
Step 2: Empty the Fridge
The first step in cleaning your fridge is to empty out all the contents. This includes removing any food items, shelves and drawers. It’s best to do this on a day when your fridge isn’t too full, so you have enough space to work with.
As you remove the food items, check their expiration dates, and throw out anything past its prime. This will not only free up space in your fridge, but also prevent potential health risks.
Step 3: Remove Shelves and Drawers
Next, remove all shelves and drawers from the fridge. These can be cleaned separately while you clean the interior of the fridge. You can use warm soapy water or a natural cleaning solution to scrub away any spills or stains.
Pro Tip: If your shelves and drawers are dishwasher safe, you can also run them through a cycle for a thorough clean.
Step 4: Clean the Interior
Now it’s time to tackle the main task – cleaning the interior of your fridge.
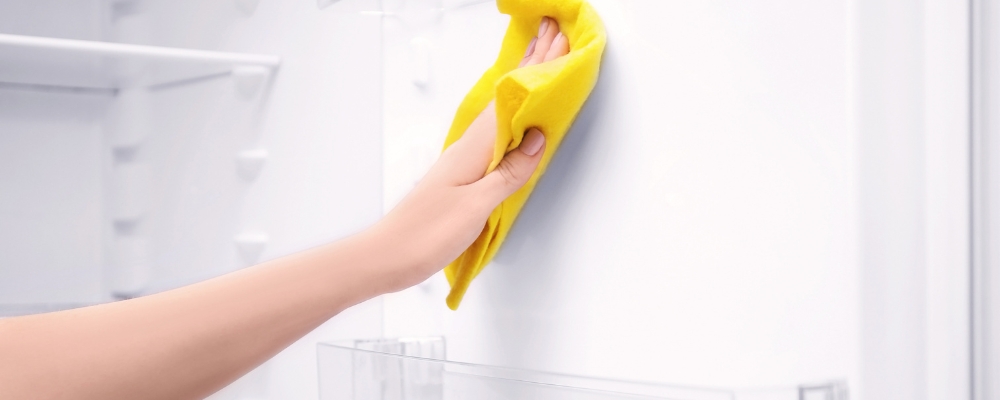
Start by wiping down the walls and surfaces with a microfiber cloth or sponge dipped in your chosen cleaning solution. For tougher stains, use a toothbrush to scrub gently.
Don’t forget to clean the door seals and edges, as they can harbour bacteria if left dirty.
Step 5: Freshen Up with Baking Soda
After you’ve thoroughly cleaned and dried the interior of your fridge, sprinkle some baking soda on the shelves and bottom of the fridge. This will help absorb any lingering odours and keep your fridge smelling fresh.
Step 6: Put Everything Back
Now that you’ve cleaned all the components of your fridge, it’s time to put everything back in its place. As you do so, take the opportunity to organise your food items and throw away any expired or unused items.
Step 7: Maintain a Clean Fridge
To keep your fridge clean and organised, wipe down any spills or messes as they happen. This will prevent them from becoming tough stains that are harder to remove.
Also, make it a habit to regularly check for expired items and give your fridge a deep clean every few months.
Takeaway
Cleaning your fridge doesn’t have to be a daunting task. With this easy step-by-step guide, you can keep your fridge clean and organised with minimal effort.
Remember to prepare all necessary materials, empty the fridge, remove shelves and drawers, clean the interior, freshen up with baking soda, put everything back in place and maintain a clean fridge regularly. So give your refrigerator some love – your food (and family) will thank you!
Hire A Professional Home Cleaning Service
If you’re short on time or just don’t enjoy cleaning, consider hiring a professional home cleaning service to tackle your fridge and the rest of your kitchen. They have the experience and tools to give your fridge a deep clean that will leave it looking brand new.
Obsessive Cleaning Disorder is ready to help with all your cleaning needs. Contact us today for a free quote and enjoy a sparkling clean kitchen without the hassle!


