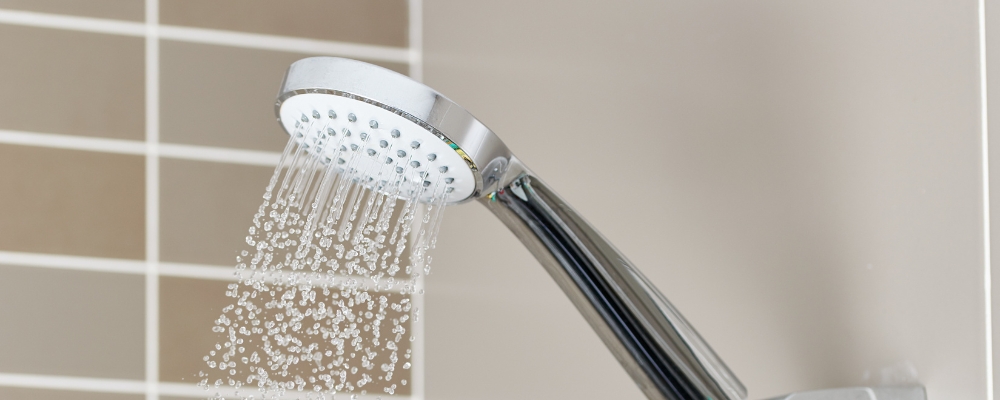
A shower head is an essential part of any bathroom, as it provides us with a steady flow of water for our daily showers. However, you may notice that your shower head isn’t working as efficiently as it used to. This could be due to mineral buildup or clogging caused by hard water and other impurities.
To ensure your shower continues to function properly and provide you with a refreshing experience every time, it’s important to clean your shower head regularly. Today, we’ll discuss the reasons why cleaning your shower head is necessary, and how you can do it effectively.
Why Clean Your Shower Head?
There are several reasons why regular cleaning of your shower head is crucial.
1) Maintain Water Pressure
Mineral buildup and clogging can restrict the flow of water through your shower head, resulting in low water pressure. This can make your showers less satisfying and longer than needed.
Regular cleaning helps remove any blockages, ensuring a steady flow of water with adequate pressure.
2) Prevent Bacteria Growth
The warm and moist environment of a shower is the perfect breeding ground for bacteria and mould to grow on your shower head. These microorganisms not only cause unpleasant odours but can also be harmful to your health.
Cleaning your shower head regularly prevents these bacteria from accumulating and spreading.
3) Improve Water Quality
As mentioned earlier, hard water can lead to mineral buildup on your shower head. These minerals not only affect the water pressure, but can also make your water quality poor.
By cleaning your shower head, you’ll remove these impurities and enjoy cleaner and fresher water for your showers.
How To Clean Your Shower Head
Cleaning your shower head is a simple process that requires minimal effort and supplies. Here’s how you can do it effectively:
1) Gather Supplies
To clean your shower head, you’ll need white vinegar, a plastic bag or ziplock bag, and a rubber band or twist tie.
2) Remove the Shower Head
If possible, remove the shower head from its fixture to allow better access during cleaning. This step is not necessary, but it can make the cleaning process easier.
3) Soak the Shower Head
Fill the plastic bag with enough white vinegar to submerge the shower head completely.
If removing the shower head isn’t possible, you can also use a spray bottle to apply vinegar directly onto the shower head. Let it soak for approximately 30 minutes.
4) Scrub and Rinse
After soaking, remove the shower head from the bag and use an old toothbrush or sponge to scrub away any remaining buildup. You can also use a pin or toothpick to gently unclog any nozzles. Once done, rinse off the shower head with warm water.
5) Reattach the Shower Head
If you had removed the shower head, reattach it to its fixture. Run the water for a few minutes to flush out any remaining vinegar and residue.
Congratulations, your shower head is now clean and ready for use!
Other Tips for Maintaining a Clean Shower Head
- Use a water softener to prevent mineral buildup in the first place.
- Consider investing in a removable or self-cleaning shower head for easier maintenance.
- Clean the shower head at least once every 3 months or more frequently if you notice any decrease in water pressure.
Takeaway
Regular cleaning of your shower head not only ensures it continues to function properly, but also improves your shower experience. With minimal effort and supplies, you can easily maintain a clean and hygienic shower head.
Remember to schedule regular cleanings every few months or whenever you notice a decrease in water pressure or quality. Your shower head will thank you!
Deep Clean With Obsessive Cleaning Disorder
Need professional help deep clean your shower head? Consider reaching out to Obsessive Cleaning Disorder!
We provide top-notch home cleaning services for residential spaces, including a thorough deep clean of your shower head. Say goodbye to mineral buildup and bacteria growth with OCD’s impeccable cleaning methods.


